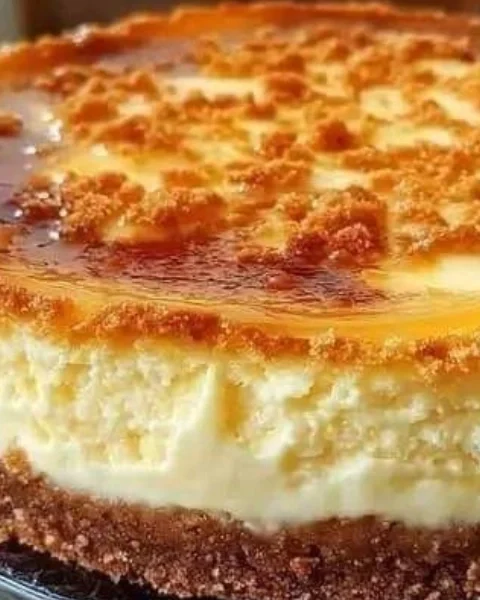
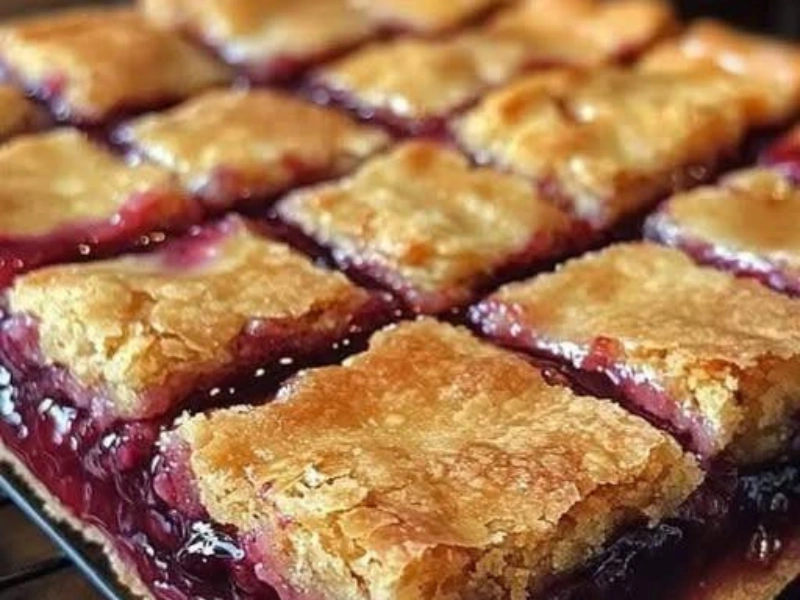
If you’re craving a dessert that’s both simple and irresistibly delicious, these Cherry Pie Bars are the perfect pick. With a soft, buttery cookie-like crust, a layer of luscious cherry filling, and a drizzle of vanilla glaze, every bite tastes like a slice of cherry pie — but easier to make and serve!
These bars are ideal for parties, holidays, bake sales, or just a cozy weekend treat to enjoy with your afternoon coffee. Let’s dive into how you can make this crowd-pleasing dessert at home.
Why You’ll Love This Recipe
- Sweet & Buttery: The soft crust melts in your mouth and pairs perfectly with the fruity filling.
- Easy to Make: No pie crust rolling or fancy tools — just layer, bake, and drizzle!
- Perfect for Sharing: Cut into bars for easy serving at parties or gatherings.
- Versatile: Works beautifully with cherry, blueberry, or any fruit pie filling.
- Make-Ahead Friendly: Stores well and freezes great for future cravings.
Ingredients You’ll Need
For the Crust and Topping
- 1 cup (230 g) unsalted butter, softened
- 1 ½ cups (300 g) granulated sugar
- 4 large eggs
- 1 teaspoon vanilla extract
- 1 teaspoon almond extract (optional but highly recommended for flavor)
- 3 cups (400 g) all-purpose flour
- 1 teaspoon baking powder
- 1 teaspoon salt
For the Filling
- 1 can (21 oz / ~600 g) cherry pie filling
(or use thick cherry jam or homemade cherry compote)
For the Glaze (Optional)
- 1 cup (120 g) powdered sugar
- 1–2 tablespoons milk
- ½ teaspoon vanilla extract
Step-by-Step Instructions
Step 1: Prepare the Pan and Oven
Preheat your oven to 350°F (175°C).
Grease a 9×13-inch (33×23 cm) baking pan or line it with parchment paper for easy removal and cleanup.
Step 2: Make the Dough
- In a large mixing bowl, cream together the butter and sugar until light and fluffy (about 2–3 minutes with an electric mixer).
- Add the eggs one at a time, mixing well after each addition.
- Stir in the vanilla and almond extract.
- In a separate bowl, whisk together the flour, baking powder, and salt.
- Gradually add the dry ingredients to the wet mixture, mixing until a soft dough forms.
Step 3: Assemble the Layers
- Spread about two-thirds of the dough evenly into the prepared pan — this will form your crust.
- Spoon the cherry pie filling evenly over the crust.
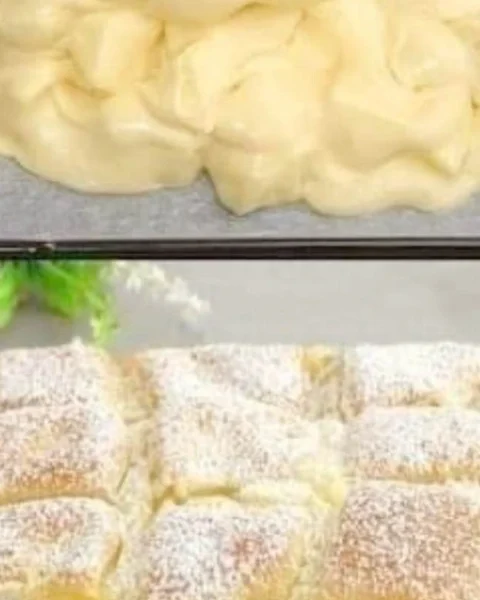
- Drop small spoonfuls of the remaining dough over the cherry layer. It doesn’t need to cover the top completely — the cherry filling should peek through!
Step 4: Bake
Bake for 35–40 minutes, or until the top is lightly golden and the center is set.
Allow the bars to cool completely in the pan before cutting.
Step 5: Add the Glaze (Optional but Recommended!)
In a small bowl, whisk together powdered sugar, milk, and vanilla extract until smooth.
Drizzle the glaze over the cooled bars using a spoon or piping bag for a pretty finish.
Tips and Variations
🍒 Homemade Filling Option: For a fresher flavor, make your own cherry filling by simmering pitted cherries with sugar, lemon juice, and a touch of cornstarch until thickened.
🍓 Mix It Up: Swap cherry for blueberry, raspberry, or apple pie filling for a fun twist.
🧊 Storage: Keep bars in an airtight container for up to 4 days at room temperature or 1 week in the fridge.
❄️ Freeze: These bars freeze beautifully for up to 2 months — perfect for make-ahead treats.
Why This Recipe Works
These Cherry Pie Bars capture everything you love about traditional cherry pie — the flaky, buttery texture, the fruity filling, and the sweet glaze — but without the hassle of making and shaping a pie crust. The cookie-like dough provides structure and softness, while the simple layering technique guarantees beautiful results every time.
Conclusion: A Dessert That Always Impresses
Whether you’re baking for a family gathering, a potluck, or just to satisfy your sweet tooth, these Cherry Pie Bars are a total win. They’re quick, simple, and bursting with flavor — no fancy ingredients or techniques required.
Serve them as-is, or top with a scoop of vanilla ice cream for an extra-indulgent treat. 🍒✨
We’d love to see your creations! Tag us in your photos or share your favorite flavor variations — your version might just inspire someone else to bake a batch, too!