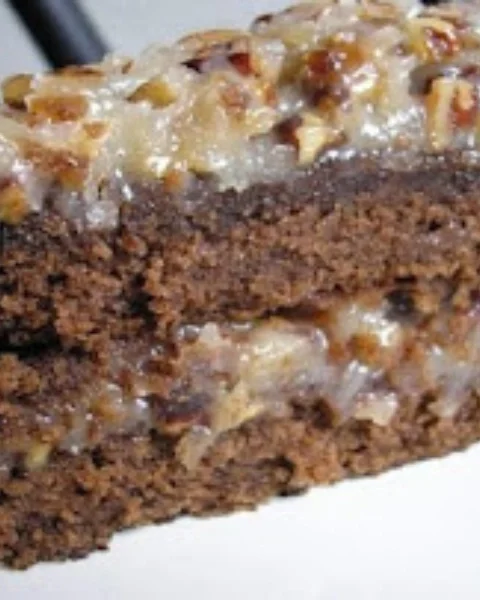
There are recipes that feed you—and then there are recipes that raise you.
In the 1980s and ’90s, dessert didn’t come from bakeries or plastic containers stamped with expiration dates. It came from the oven at home, baked in a well-used rectangular pan, sliced generously, and served without ceremony. In my house, this cake was the cake. Birthdays. Sunday afternoons. Unexpected guests. This was what my mother made.
Golden and soft, lightly crisp at the edges, and finished with a thin vanilla glaze that melted into the warm crumb, it didn’t need layers or fancy frosting. The smell alone—butter, sugar, vanilla—was enough to pull everyone into the kitchen before it even cooled.
It wasn’t fancy.
It wasn’t trendy.
It was perfect.
And decades later, it still is.
Why You’ll Love This Recipe
- Classic, old-fashioned comfort dessert
- Made with simple pantry staples
- Soft, moist crumb with lightly crisp edges
- Easy one-pan cake—no layers, no fuss
- Perfect for family gatherings or everyday baking
- Somehow tastes even better the next day
Ingredients
For the Cake
- 2 cups all-purpose flour
- 1½ cups granulated sugar
- 1 cup unsalted butter, softened
- 4 large eggs, room temperature
- 1 cup sour cream or plain yogurt
- 1 teaspoon vanilla extract
- 1 teaspoon baking powder
- ½ teaspoon baking soda
- ¼ teaspoon salt
- ½ cup shredded coconut (optional—but very ’80s)
For the Glaze
- 1 cup powdered sugar
- 2–3 tablespoons milk
- ½ teaspoon vanilla extract
Equipment Needed
- 9×13-inch baking pan
- Large mixing bowl
- Medium mixing bowl
- Hand mixer or stand mixer
- Whisk
- Rubber spatula
- Measuring cups and spoons
Step-by-Step Instructions
1. Prep the Pan and Oven
Preheat oven to 350°F (175°C). Generously grease a 9×13-inch baking pan with butter or nonstick spray.
2. Cream the Butter and Sugar
In a large bowl, beat butter and sugar until light, pale, and fluffy—about 3–4 minutes. This step is key to the cake’s tender texture.
3. Add Eggs and Dairy
Add eggs one at a time, beating well after each addition. Mix in sour cream (or yogurt) and vanilla until smooth.
4. Combine Dry Ingredients
In a separate bowl, whisk together flour, baking powder, baking soda, and salt.
Gradually fold into the wet mixture just until combined—do not overmix.
If using coconut, gently stir it in.
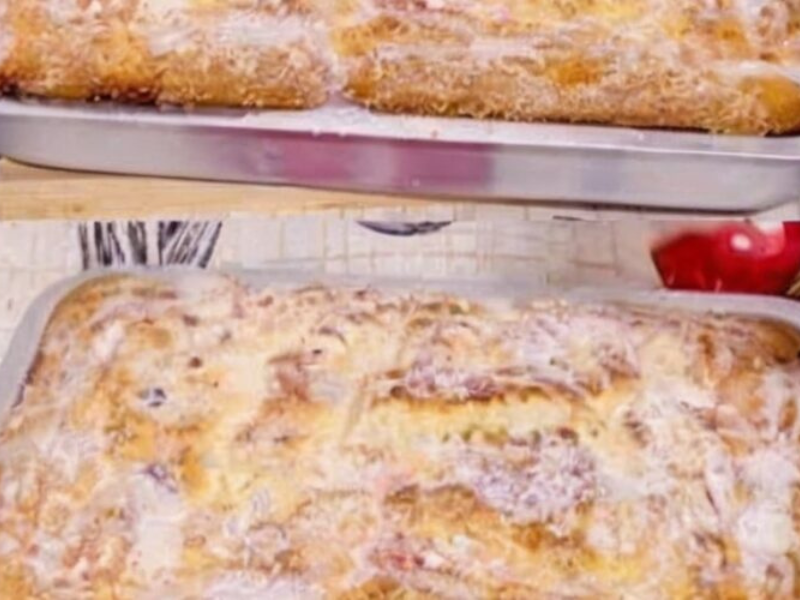
5. Bake
Pour batter into prepared pan and smooth the top.
Bake 35–40 minutes, until golden and a toothpick inserted in the center comes out clean.
6. Make the Glaze
While the cake bakes, whisk powdered sugar, milk, and vanilla until smooth and pourable.
7. Glaze While Warm
Drizzle glaze over the warm cake, letting it soak slightly into the surface.
This is the secret to that nostalgic, moist finish.
Cool slightly before slicing.
Pro Tips
- Room-temperature eggs create a smoother batter
- Stop mixing as soon as flour disappears
- Glazing while warm keeps the cake moist for days
- Coconut is optional—but authentic
- Slices cleanly once slightly cooled
Variations & Substitutions
- No coconut: Simply omit
- Lemon version: Add 1 tablespoon lemon zest
- Almond twist: Replace vanilla with almond extract
- Dairy-free: Use plant-based butter and yogurt
- Classic add-ins: Walnuts or raisins (very ’90s)
Serving, Pairing & Storage
Serving
- Warm or room temperature
- Plain, with whipped cream, or fresh fruit
Pairings
- Coffee or tea
- A cold glass of milk
- Vanilla ice cream for dessert
Storage
- Covered at room temperature up to 2 days
- Refrigerate up to 5 days
Freezing
- Freeze sliced cake up to 2 months
- Thaw at room temperature
Frequently Asked Questions
Can I make this ahead of time?
Yes—this cake is even better the next day.
Why is my cake dense?
Overmixing after adding flour is the most common cause.
Can I use Greek yogurt?
Yes—use full-fat for best texture.
Does the glaze harden?
It sets lightly but stays soft and tender.
Can I halve the recipe?
Yes. Use an 8×8-inch pan and reduce bake time slightly.