Oven-Baked Bacon: A Cleaner, Easier Way to Get Perfect Results
Growing up, weekend mornings often started with the sound of bacon sizzling in a pan. While that smell is hard to beat, cooking bacon on the stovetop can be messy, uneven, and requires constant attention. Switching to the oven changes everything. It’s simpler, cleaner, and produces consistently crisp, flat slices with minimal effort.
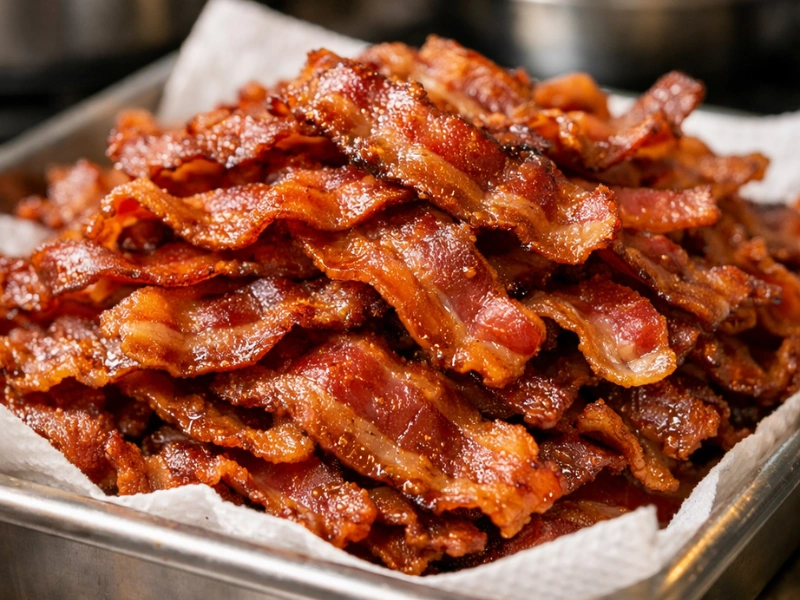
If you’re cooking for a crowd, prepping meals ahead of time, or just want reliable results, baking bacon is a method worth using.
Why the Oven Method Works So Well
Instead of exposing bacon to intense heat right away, the oven allows it to cook gradually. Starting in a cold oven and letting the temperature rise slowly helps the fat melt evenly. This process keeps the slices from curling too much and prevents burnt edges with undercooked centers.
As the fat renders, it naturally coats the meat, creating evenly browned, crispy strips without needing to flip or monitor constantly.
Choosing the Right Type of Bacon
The kind of bacon you use affects both cooking time and texture:
- Regular-cut bacon: Cooks faster and becomes thin and crispy
- Thick-cut bacon: Takes longer but offers a meatier bite with crisp edges
- Center-cut bacon: Leaner, with less fat and shrinkage
- Cured vs. uncured: Both work well; the difference comes down to how they’re preserved
What You’ll Need
You don’t need much equipment, but a proper setup helps:
- Rimmed baking sheet: Prevents grease from spilling in the oven
- Wire rack (optional): Elevates the bacon so air circulates around it, making it extra crisp
- Foil or parchment paper: Makes cleanup quick and easy
If you skip the rack, the bacon will cook in its own fat, which still tastes great but results in a slightly richer texture.
Step-by-Step Instructions
- Start with a cold oven
Arrange bacon in a single layer on your lined baking sheet. - Set the temperature
Turn the oven to 375°F (190°C). - Bake
Cook for 15–25 minutes, depending on thickness. - Check for doneness
Remove when the bacon reaches your preferred crispness. - Drain
Transfer to paper towels to absorb excess grease.
Comparing Other Cooking Methods
- Air fryer: Produces crispy bacon but handles only small batches
- Microwave: Quick but often results in dry or uneven texture
- Oven: Best for cooking large amounts with consistent results
Don’t Waste the Bacon Fat
The rendered fat left on the pan is incredibly useful. Once it cools slightly, strain it into a jar and store it in the fridge. It can be used to cook eggs, roast vegetables, or add flavor to other dishes.
Storing and Reheating
- Refrigerator: Keep cooked bacon in an airtight container for up to 4–5 days
- Freezer: Freeze slices individually, then store in a bag
- Reheating: Warm in a skillet over low heat to bring back crispness
Common Questions
How long does thick-cut bacon take?
Usually 20–25 minutes, but keep an eye on it rather than relying only on time.
Is it messy?
Not at all—especially if you use foil or parchment. It’s much cleaner than frying.
Can I add sweet toppings?
Yes. For a sweet finish, brush with maple syrup or sprinkle brown sugar during the last few minutes of baking to avoid burning.
Final Thoughts
Cooking bacon in the oven is a simple upgrade that delivers better texture, less mess, and more convenience. Once you try it, going back to stovetop cooking will feel like extra work for lesser results.